Introduction
Putting together a new printer may seem tricky, but it’s important for good print quality and long-lasting performance. Without proper set up, you could face paper jams, slow printing, or connectivity problems. Following a clear process makes setting up faster and easier, saving you time and headaches. Whether you’re using a basic inkjet or an advanced multifunction printer, this guide walks you through every step, so your new device works smoothly from the start.
Selecting the Right Location for Your Printer
Factors to Consider for Optimal Placement
Choosing the perfect spot for your printer is the first step. Place it near a power outlet and your Wi-Fi router; that keeps cables short and helps your printer stay connected. Avoid spots with lots of dust or direct sunlight, as these can cause damage or print quality issues. Also, keep it away from humidity or heat sources that could affect internal parts.
Space Requirements and Ergonomics
Make sure there’s enough room for easy paper loading and routine maintenance. Position your printer at a height that lets you see status lights and access controls without bending down. Comfortable placement speeds up tasks like replacing ink cartridges and clearing paper jams, keeping your workflow smooth.
Unboxing and Physical Setup
Opening and Inspecting the Printer
Carefully open the box to inspect your new printer. Look for any signs of damage from shipping like dents or loose parts. Ensure all components—such as power cords and user manuals—are inside. Take note of any missing items and keep packaging intact for potential returns or repairs.
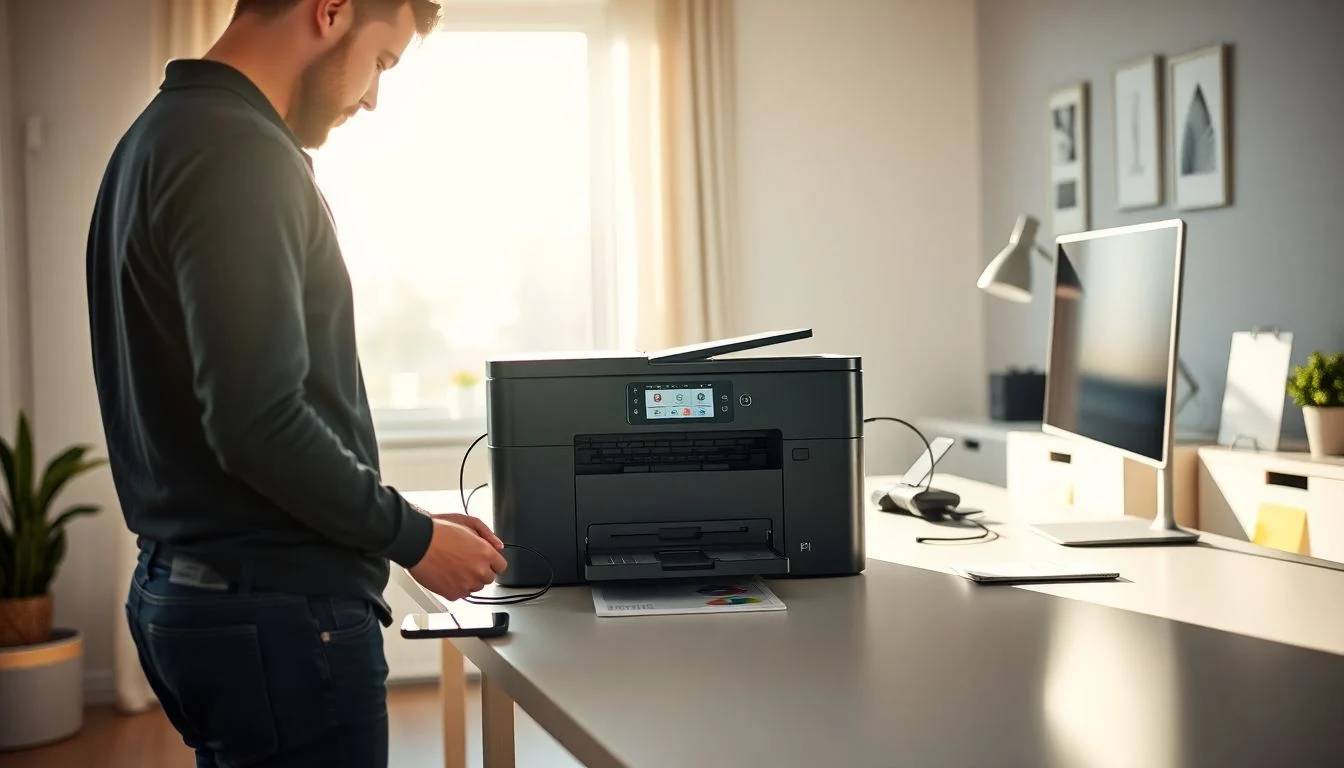
Assembling and Connecting Hardware
Install the ink or toner cartridges according to the manual. Usually, you’ll need to open a panel, then insert cartridges until they click into place. Load paper trays with the right size of paper, arranging sheets neatly to avoid jams. Connect the power cord, making sure to plug into a grounded outlet that matches the voltage specifications. Grounding prevents static or electrical issues.
Initial Power-On and Basic Configuration
Turn on your printer for the first time. Follow on-screen prompts to select your language and date/time settings. Some models offer quick setup options—just follow the instructions, and within minutes, your device will be ready to connect.
Installing Printer Drivers and Software
Choosing the Right Drivers
Downloading the correct drivers is key. Always visit the manufacturer’s official website and select drivers tailored for your specific printer model and operating system. This reduces errors and ensures compatibility with Windows, Mac, or Linux.
Installation Process
On Windows, run the downloaded setup file and follow prompts. For Mac users, open the installer package and follow instructions. Many companies also provide software on a CD—though online downloads are faster and often more up-to-date. If you experience issues during setup, restarting your computer and reinstalling drivers helps solve common errors.
Additional Software Features
Modern printers come with extra tools like mobile print apps or scanning software. Installing these can expand what your device can do—like printing from your phone or copying documents. Make sure to check these options during installation if you plan to use those features.
Connecting Your Printer to Devices
Wired Connection (USB or Ethernet)
A wired connection is simple—plugging into your computer or network improves stability. For USB, connect the cable from your printer to your PC, and your device should recognize the printer automatically. Ethernet connections are great for shared printing in offices—connect a LAN cable from your router to the printer.
Wireless Connection (Wi-Fi)
Setting up Wi-Fi is popular because it gives you freedom from cables. Use the printer’s Wi-Fi setup wizard, often found in the menu, to select your network and enter your password. Advanced users can assign static IP addresses for more stable connections. Keep your Wi-Fi signal strong and avoid interference to prevent disconnections.
Managing Multiple Devices
Once connected, you can add the printer to other computers, tablets, or smartphones. On Windows and Mac, go to the printer settings menu and select “Add Printer.” For smart devices, install the manufacturer’s app and follow on-screen instructions. Setting your printer as the default ensures your documents always go to the right device.
Configuring Printer Settings for Optimal Performance
Printer Preferences and Defaults
Adjust your print quality settings based on the task. For drafts, choose economy mode; for photos, select high quality. Set page layout options, like portrait or landscape, and specify paper size. Enable double-sided printing if your model supports it to save paper and reduce costs.
Firmware Updates and Maintenance
Check regularly for firmware updates—these often fix bugs and improve performance. Make it part of your routine to keep the software current. Schedule cleaning tasks for print heads or nozzles to keep print quality clear—most printers alert you when maintenance is needed.
Security Settings
Secure your wireless printer with password protection if your model offers it. This keeps unauthorized users from printing or changing settings. Also, change default network passwords and enable encryption to guard against hacking.
Troubleshooting Common Setup Issues
Connectivity Problems
If your printer won’t connect via Wi-Fi, restart your router and printer. Double-check network credentials and proximity. Reset network settings if needed and reconnect following the setup wizard.
Driver Recognition Errors
Sometimes, your device may not recognize the correct driver. Uninstall outdated drivers and install fresh copies from the manufacturer’s site. Reboot your system and try setting up again.
Hardware Malfunctions
Paper jams are common; always load paper correctly and clear jams right away. If error lights blink or messages appear, consult your manual or visit the manufacturer’s website for troubleshooting tips.
Final Tips for a Smooth Printer Setup
Keep your user manual and warranty information close by. Regular updates of drivers and firmware help keep everything running smoothly. When issues arise, contact manufacturer support. Always print a test page after setup to verify everything works perfectly.
Conclusion
Setting up your new printer doesn’t have to be complicated. Follow these clear steps—from selecting the right spot to connecting and configuring your device. Proper setup leads to better print quality, fewer problems, and longer device life. Take care of your printer with regular maintenance and updates, and it’ll serve you well for years to come.